ELITE WATERSPORTS
Last updated 9-01-2024
What do I practice after my kite lesson?
Everything you need to know.

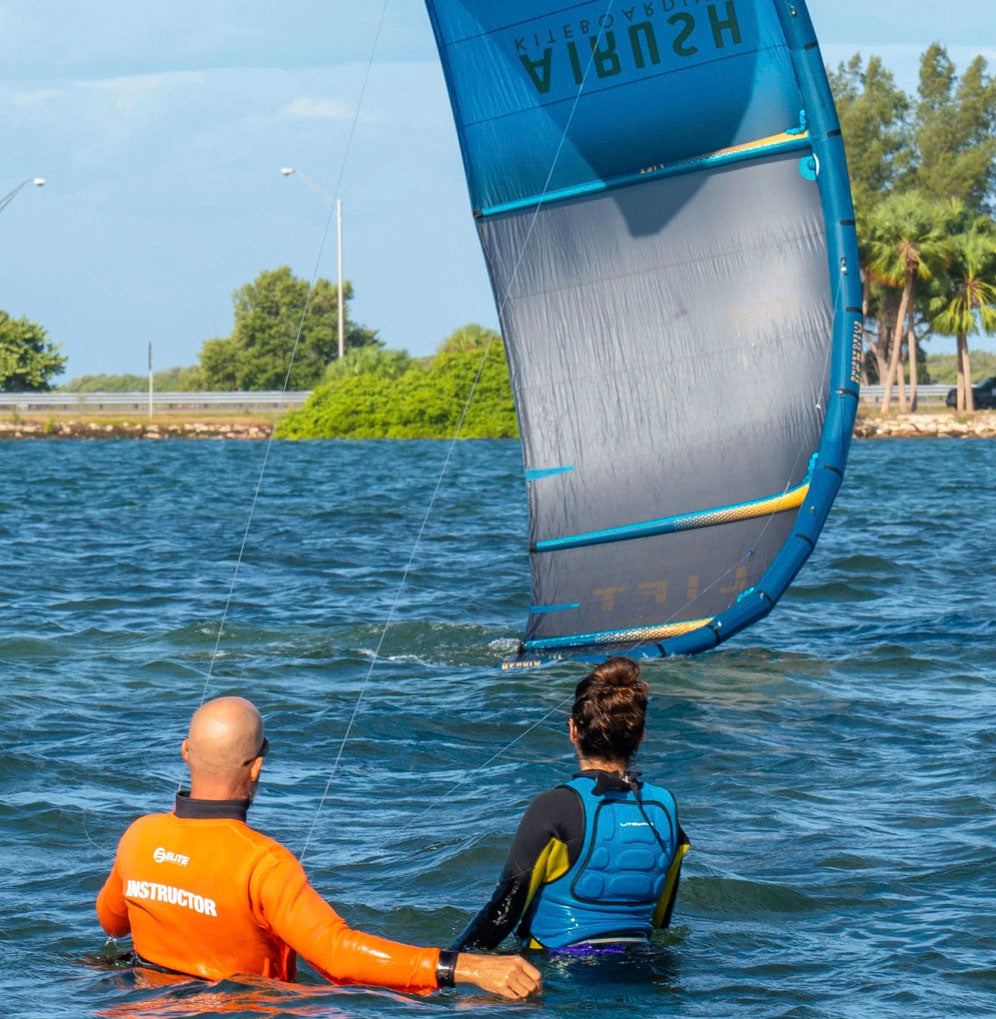
Online kiteboarding lessons.
Welcome to part two of our online kiteboarding lessons Blog. Many kiteboarders need help after their initial lessons.
We offten get calls from students who need guidance on the next steps. We decided to draft some guides for our students to study before and after kiteboarding lessons.
This guide is slightly more advanced but we recently wrote a blog about what to work on after your first kiteboarding lessons.
We covered: Buying your own kitesurfing gear.How to get an assisted kite launch.Kiteboarding water starts.Your first kiteboarding transitions. This article will touch on more of the next steps in the learning process. Many new kiteboarders ask us, "How do I launch my kite alone?" What do I learn after my first kiteboarding water starts, and how do I ride upwind kiteboarding?
We'll write a detailed guide for each of these steps and include instructional videos from our professional team of kiteboarding instructors at Elite Water Sports.
These skills will help lay the foundation for the next set of skills, so study and learn these essentials.
How to use this guide: Use these instructions before and after your kiteboarding lessons. Read the article, watch the tutorial, and practice the small steps on your own.
Warning: These lessons are not meant to replace real in-person lessons. Always start with a credible kiteboarding school; remember, intermediate kiteboarding lessons are the fastest way to progress.
How to be a better kiteboarder: We release regular tutorials, gear reviews, tips, and so much more on YouTube. Be sure to subscribe for the latest trick tips and insider knowledge.
Practice makes permanent: Learn the right way and set good riding habits early. Follow our tips and avoid common mistakes.


Table Of Content
- Online Kiteboarding lessons: Step 1 - Drift Launch.
- Online kiteboarding lessons: Step 2 - How do I Kite upwind??
- Online kiteboarding lessons: Step 3 - How do I jump Kiteboarding?
- Why you should take Kiteboarding Lessons with Elite Watersports.
Online Kiteboarding Lessons: Chapter 2 - Step 1: What is a Drift Launch?
A drift launch is a technique used to launch a kite from the water without the need for someone to assist you from the shore. It's particularly useful in situations where:
Crowds: The beach is crowded, or there's no room to launch safely.
High Tide: You're in a location with no beach at all.
Boating: You need to start from a boat or other watercraft.
Be safe: Kiteboarding and launching alone are never recommended, but there might be times when this technique is useful. Especially if everyone else is on the water and you need to launch your kite.
Be smart: Learn this in lighter winds before attempting in strong winds with consequences. Always ensure you have ample space and that no people or obstacles are downwinding you.
Prerequisites: First, you should have lots of practice relaunching your kite. Wait at least three months before your first self-launch to build kite skill and awareness. Always ask for a launch if possible. It's better to play it safe.
Step-by-Step Guide to Drift Launching
Set Up Your Kite Correctly: Make sure the red pigtail is attached to the red side of the bar and the green pigtail to the green side. This way, when you pick up the bar, you'll know that the red side should be on your left hand. This is crucial for maintaining control when you start flying the kite.
Prepare Your Equipment: After confirming your lines aren't tangled, attach the bar to yourself using the chicken loop and a safety leash.
This prevents the bar from inverting or getting tangled while you're setting up. Wrap up the bar lightly—about 10 feet (3 meters) of line wrapped should suffice.
This prevents the lines from getting tangled on the beach or in the water.
Positioning the Kite in the Water: Flip the kite over in the water. It doesn't matter which way you flip it as long as the lines remain outside the kite. Walk out into the water, away from the beach, ensuring there's enough space between you and any obstacles or other riders downwind.
Determine the Kite's Direction: Before releasing the kite, decide which direction you want it to go—left or right. You can control the initial drift direction by slightly tilting the kite to the desired side.
For example, if you want the kite to drift right, tilt it slightly to the right.
Release and Monitor the Lines: Let go of the kite and monitor your lines as it drifts away. If you see any tangles, grab one of the gray front lines to stop the process quickly.
Don't be afraid to walk with the kite to correct any issues. If you stop moving, the kite could power up, causing more problems.
Final Positioning and Launch: Once the lines are fully extended, check if they're twisted. Untwist them if needed, and prepare for a normal relaunch. If the kite is pulling too much.
Pro tip: walk downwind in the same direction the kite is drifting. This reduces the kite's pull, making it easier to control and relaunch.
If you need help: Book a Private kite Lesson.
Online Kiteboarding Lessons: Chapter 2 - Step 2. How do I kite upwind?
How do you stay upwind while kiteboarding?
It comes down to managing three crucial variables: the kite, the bar, and the edge control. By understanding and controlling these elements, you can minimize the variables and make staying upwind more manageable.
Kite Positioning: This is all about where your kite is in the sky.
Bar Control: This involves how you use your bar to control your speed.
Edge Control: This is how you manage your board's edge to maintain line tension and direction.
To really master staying upwind, we want to minimize these variables. The first step is to eliminate the variable of kite positioning.
Stable kite: The first variable to manage is your kite positioning. A common mistake is to keep stroking the kite up and down (also known as signing or power-stroking). This creates a big variation in power—power on, power off—which makes it harder to stay upwind.
To minimize this variable, park your kite at a high position, around the 2 o'clock.When your instructor says, "Park the kite," they mean to keep it steady at a consistent height. A parked kite reduces power variation, allowing you to focus on the remaining two variables.
Tips for Kite Positioning: Keep the kite at a higher angle to lift you out of the water, making you more efficient.If you need more power, you can dive the kite again, but always return to a parked position once you have enough speed.
The higher the kite, the more it lifts you into the breeze, improving upwind performance.
Control your speed: Once your kite is parked, the next variable to control is your bar positioning. Your bar acts as a throttle for speed. Sheeting in (pulling the bar in) will make you go faster while sheeting out (pushing the bar away) will slow you down.
If you're already moving quickly across the water and keep sheeting in, you'll likely drift downwind, which isn't ideal for staying upwind. Instead, practice easing up on your front hand when you want to reduce speed and maintain your upwind angle.
Tips for Bar Control:Use the bar to fine-tune your speed. Pull in to speed up, push out to slow down.Let go of the front hand to ease tension and better control your upwind angle.
Practice reaching low with one hand while maintaining a balanced posture; this helps open your body to the wind and maintain an upwind direction.
Kiteboard Edge Control: The final variable in staying upwind is edge control. As a beginner, you might have learned that edging too hard right out of the first dive can kill your speed.
Instead, you need to gradually set your edge to start moving upwind effectively.
Experiment: Use carving turns to understand how flattening the board can increase speed while edging harder slows you down. It's all about line tension management—keeping enough tension in the lines to maintain control and power.
Tips for Edge Control: Avoid locking your edge too hard, as it will slow you down.Practice flattening the board slightly to pick up speed, then edge harder to slow down and maintain control.
Awarness: Develop situational awareness by looking back at your trail in the water. This will help you understand the angles you're achieving and how to adapt your technique for better performance.
By mastering these three variables—kite positioning, bar control, and edge control—you'll become more proficient at staying upwind and advancing your kiteboarding skills.
Remember, it's all about practice and fine-tuning your technique.
Book a private kite lesson here:
Online Kiteboarding Lessons: Chapter 2 - Step 3: How do I jump kiteboarding?
Jumping and big air catch most people's attention, and chances are why you're here in the first place.
The good news is that getting air with a kite is easier than you think. If you can kiteboard upwind, you are ready to learn your first jump.
Essential tips for jumping with a kite:
Building Speed: The first step to achieving a big jump is maintaining your upwind position and building the necessary speed.
Riding upwind helps you generate tension in the lines and gives you the lift needed to get airborne. Focus on holding a strong edge against the water while maintaining a steady, controlled speed.This will set you up perfectly for the next phase.
Loading and Popping: The load and pop technique is crucial for gaining height and distance in your jumps. As you approach your takeoff point, keep your kite steady at about a 45-degree angle and gradually build tension in the lines by leaning back and edging harder against the water.
This action loads the lines with energy.Once you're ready to jump, release this tension by popping off the water. This is where your body movement comes into play. Push off with your back foot and lift with your front foot while simultaneously sending the kite upwards to noon.
The timing between loading the lines and popping off the water is critical, and it will take some practice to get it right.
Sending the Kite and Controlling Your Jump: As you pop off the water, send the kite aggressively to 12 o'clock by pulling the bar in.
This movement will give you the upward lift needed to get airborne. Hold the bar in to maintain tension in the lines and keep the kite at noon throughout the jump.
This technique helps you maintain a stable flight and prepares you for a smooth landing. Once you're in the air, it's all about kite control. Focus on the kite and feel how it pulls you.
The Landing: The final step is nailing the landing. Remember, you're not just landing with the kite—it's also a board sport!
As you come down, angle your board downwind to reduce the impact and ensure a smooth touchdown.If you're descending from a higher jump, keep the bar pulled in to maintain tension in the lines, which will help cushion your landing.
One of the most common mistakes is forgetting to aim the board downwind. If you land with the board facing sideways or upwind, you risk wiping out. By aiming downwind and maintaining speed, you'll achieve a clean, controlled landing every time.Jumping and boosting kiteboarding takes practice, control, and confidence.
By following these steps and mastering the fundamentals, you'll be well on your way to boosting bigger and flying higher.
Remember to stay safe, progress at your own pace, and, most importantly, have fun!
Feel free to visit our previous videos and guides for more tips and tricks.
If you have any questions or need guidance, please call us at Elite Water Sports at 727-800-2202. We're here to help!
You can book with us here.
Why you should take Kiteboarding Lessons with Elite Watersports.
Elite Watersports has served the Tampa and St Petersburg area for years. They offer kiteboarding and wingsurfing lessons. They also have a retail shop equipt with the latest kitesurfing gear. This is hands down the best location to learn kitesurfing. We have shallow flat water and easy beginner conditions. Call today and reserve your spot for jet-ski-supported lessons. If the wind is blowing, we're going!
If you need help give us a call. .
(727)-800-2202

Author

Ryan "Rygo" Goloversic
Tags
Kiteboarding St Petersburg
Florida Kiteboarding Lessons
You May Also Like

Want To learn more about kiteboarding?
Follow us to receive the latest update on our journey experience