ELITE WATERSPORTS
Last updated 8-25-2024
What do I practice after my kite lesson?
Everything you need to know.

What should I learn after kiteboarding lessons?
So you've completed your first kiteboarding lesson, and you might be wondering what to do next. The answer to this question is different for everyone.
However, it's crucial to note that if you're still struggling to remember basics like safety, relaunching, and water starts, you should definitely consider taking intermediate kiteboarding lessons.
These lessons will provide you with the necessary skills and knowledge to progress in your kiteboarding journey.
This guide is meant to be used after you take kiteboarding lessons. Do not attempt to teach yourself. You'll save months of frustration, and it's safer for you and our beaches.
Kiteboarding is a safe sport, but things can happen, so always work with an accredited kiteboarding school or instructor.
Get your own gear: It goes without saying that you need to pick up gear before you can kiteboard on your own.
Call us and start with a good all-around freeride kite, a good freeride kiteboard, a wetsuit, a kiteboarding harness, and a pump. Shop kiteboarding gear here.
Practice is key: Everything you've learned during your kiteboarding lesson needs to be practiced regularly.
If you don't get out and ride, you will quickly forget. A common mistake is to wait a few weeks or months before attempting to kiteboard.
This will only lead to frustration and make you feel like you're starting over again. So, make sure to practice consistently to maintain and improve your skills.
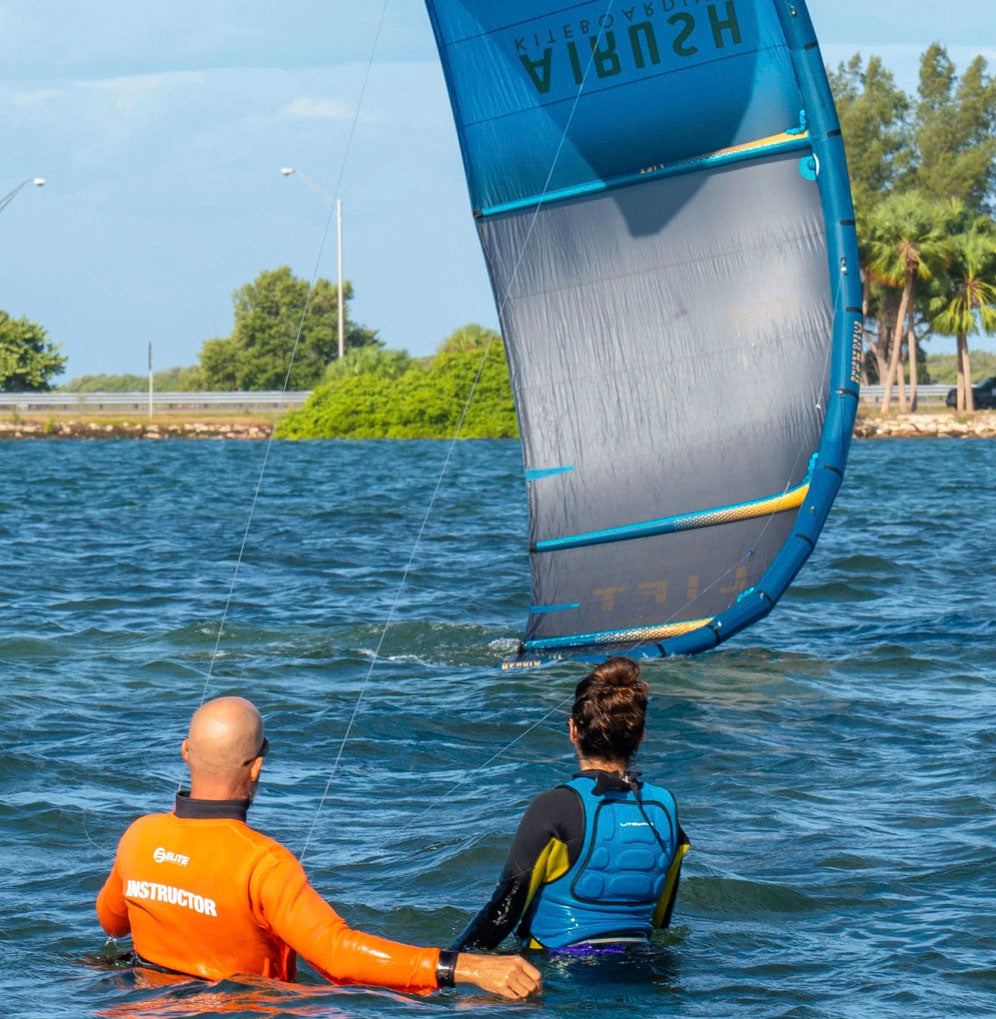
At Elite Watersports, we've taught kiteboarding in Tampa Bay and St Petersburg, Florida, for over a decade. We've spent the last few years making helpful videos for our students to watch and learn so they can get better fast and get our guidance whenever needed.
This blog will break down everything you should be practicing step by step after your kiteboarding lessons.


Table Of Content
- Online Kiteboarding lessons: Step One 1 - Launching your kite
- Online kiteboarding lessons: Step Two - How do I Waterstart kiteboarding?
- Online kiteboarding Lessons: Step 3 - How do I transition kiteboarding?
- Why you should take Kiteboarding Lessons with Elite Watersports.
Online Kiteboarding lessons: Step 1 - Launching your kite
Before you get fancy and try to self launch, you should always get another kitesurfer to launch you.
Kiteboarding is about community and you should never kite alone. Use these tips for a safe launch.
Understand Your Location and Wind Conditions: The first step is knowing your location and the wind conditions. Take note of the wind speed and direction. Observe the kites on the beach—typically, the center strut of a kite points into the wind like an arrow. Look at flags, birds, or anything that can give you a sense of the wind's direction.
Choose the Right Person to Help You Launch: It's common for new riders to ask another inexperienced rider for help, but it's better to choose someone more experienced. Look around and observe who seems confident and skilled on the beach—this is the person who can best assist you in launching your kite.
Communicate Your Skill Level: Once you've selected someone to help launch your kite, be upfront about your skill level. Letting them know will help them understand how best to assist you.
Positioning is Key: Before launching, move the kite to the edge of the beach so you, as the rider, can be out in the water, away from obstructions like cars, other kites, gear, or pedestrians. This clear area ensures a safer launch.
Know the Wind Window: Position yourself properly on the edge of the wind window. Stand with your back to the wind, extend your arms, and point to a fixed spot on the horizon. This spot will help guide you as you walk, keeping you aligned in the right position for launching.
Check Your Gear: Before launching, do a quick 1-2-3 check: 1: Chicken Loop 2: Chicken Stick 3: Leash.
Direct Your Launcher and Adjust Position: As you become more experienced, you can direct your launcher to move upwind or downwind as needed.
Also, remember that as the rider, you have control over the kite's tension—walking forward can release tension on the lines if your launcher is struggling.
Don't launch the kite too hot: You want to feel just a little tension in the lines.
Final Checks Before Launching: Before giving the thumbs-up to launch, do a final check of your gear and surroundings.
Make sure your lines are taut, your gear is secure, and your launcher is in the correct position.
This thorough preparation ensures a smooth and successful launch.
Learning kiteboarding can be challenging, but remember, the key to success is repetition.
If you need help: Book a Private kite Lesson.
Online kiteboarding lessons: Step Two - How do I Waterstart kiteboarding?
The Falling Leaf: The falling leaf drill is the best place to start. Stay small, keep your knees close to your chest, and practice small power strokes. As you dive the kite, stand up slightly and lean back. Ride a few inches, sheet out, and sit down. You will do this in both directions for a few minutes to hours as you get comfortable with the power of the kite, get lifted by the harness, and control the kiteboard. This is the perfect skill-building drill, and it will prevent you from a lot of falls.
Short rides: Start by focusing on short rides. This will build the muscle memory needed for successful kiteboarding. Think of these short rides as the building blocks of your skills. They allow you to practice getting up and stopping smoothly.
Practicing power strokes with short rides helps you understand how much power the kite can deliver, preparing you for longer rides. Aim for a series of short rides, stopping and starting repeatedly. Then starting This repetition will help you master the full water start, which is one of the hardest skills to learn as a kiteboarder.
Longer Rides: You can extend your ride time once you feel comfortable with short rides. Do a bigger power stroke and try to sail 10 feet further than the last time.
Remember to practice aiming the board and controlling the kite as you transition from short to longer rides. It's not about perfecting long rides right away; instead, focus on getting up and stopping consistently. This is training your body to edge properly, and there are no shortcuts. You simply need to practice this a lot.
Get help: Remember, it's okay to ask for help. If you're struggling to get up, consider booking a private kiteboarding lesson. Even the most experienced kiteboarders need guidance from time to time.
Working with a skilled coach is the fastest way to correct mistakes and prevent bad habits, so don't hesitate to seek help when you need it.
Book a private kite lesson here:
Online kiteboarding Lessons: Step 3 - How do I transition kiteboarding?
If you've just completed a few hours of lessons and are now up and riding, the next step is learning to transition smoothly without stopping. Let's break down the steps to help you ride more confidently and maintain momentum.
The Falling leaf again? Remember the falling leaf drill from the water start step? This drill will also help build the skills needed for a good transition. You can go for longer rides, sit down, and go the other way. Focus on the upward lift of the kite as you initiate a Powerstroke in the other direction.
The best part of the early stages of kiteboarding is that everything is cumulative. The kite skills you're building, the board edging skills, and learning to manage the power will all lead to the next steps like transitions and even your first kiteboarding jumps.
Why Focus on Transitions?Transitions are essential for continuous riding. Instead of coming to a complete stop before changing directions, learning transitions will keep you moving and help you maintain your position, even in tricky conditions.
Remember: board first, kite second.
Step-by-Step Guide to Your First Transition:
Keep Your Kite Stable: When riding, keep your kite at around the 2 o'clock position. Don't change the kite's position throughout the transition. A common mistake is bringing the kite up to 12 o'clock, which is unnecessary and can disrupt your balance.
Focus on the Kiteboard: While keeping the kite steady, shift your focus to the board. Start by applying pressure to your front foot. This maneuver makes the board feel "slippery," allowing you to slide it sideways. This technique reduces the tension on the back fins and applies more pressure on the front fins.
Practice the Forward Slide: While riding in a straight line, practice breaking the board loose by sliding it forward and then straightening it back out.
Repeat this a few times to get comfortable with the motion. This exercise is a precursor to more advanced techniques, like transitioning to a toeside stance, but let's not rush into that just yet.
Bring in the Kite: Once you're comfortable sliding the board, it's time to involve the kite. As soon as you feel the board start to slide, bring the kite up to 12 o'clock, then direct it back over in the opposite direction.
This movement helps you switch your weight smoothly from your back leg to your front leg, enabling a seamless transition to the new direction.
Maintain Momentum: Remember to keep the kite at 2 o'clock and ease the bar out as you slide the board. This technique lets you maintain control and power throughout the transition without losing speed.
Start slow, around 5-10 mph, barely up on a plane to ensure a smooth transition.
Pro Tip: Direct the kite downward to 12 o'clock before bringing it down slightly. This action brings the kite deeper into the wind window, giving you a more consistent power flow throughout the transition.
Practice Makes Perfect! Transitions are all about balance and timing. Take it slow and practice each step until it becomes second nature.
If you have any questions or need guidance, please call us at Elite Water Sports at 727-800-2202. We're here to help!
You can book with us here.
Why you should take Kiteboarding Lessons with Elite Watersports.
Elite Watersports has served the Tampa and St Petersburg area for years. They offer kiteboarding and wingsurfing lessons. They also have a retail shop equipt with the latest kitesurfing gear. This is hands down the best location to learn kitesurfing. We have shallow flat water and easy beginner conditions. Call today and reserve your spot for jet-ski-supported lessons. If the wind is blowing, we're going!
If you need help give us a call. .
(727)-800-2202


Author

Ryan "Rygo" Goloversic
Tags
Kiteboarding St Petersburg
Florida Kiteboarding Lessons
You May Also Like
Want To learn more about kiteboarding?
Follow us to receive the latest update on our journey experience

