ELITE WATERSPORTS
Last updated 2-10-2025
How to Untangle a Foil Kite: The Fastest, No-Stress Method
Everything you need to know.

How to Untangle a Foil Kite: The Fastest, No-Stress Method
Foil kites are incredible for light wind riding, massive jumps, and smooth power delivery, but let’s be real—untangling the bridle can be an absolute nightmare. If you’ve ever pulled your foil kite out of the bag and found a frustrating mess of spaghetti lines, you’re not alone.
Many riders, even experienced ones, dread setting up a foil kite because of the tangled mess that seems impossible to fix. But here’s the thing: foil kites aren’t actually that hard to untangle—if you know the right system. Most people make the mistake of focusing on the knots and tangles instead of using a structured, step-by-step process that makes everything fall into place quickly and effortlessly.

Table Of Contents
- Why Are Foil Kites So Hard to Untangle?
- Understanding Foil Kite Bridles: Why They Look Tangled (But Aren’t)
- Step 1: Don’t Look at the Tangles—Start with the A’s
- Step 2: Move to the B Bridles
- Step 3: Untangle the C and Z Bridles
- Step 4: Final Bridle Check and Pre-Flight Prep
- Step 5: Inflation and Line Tension Check
- Step 6: Connecting to the Kite & Final Checks
- Step 7: Preventing Tangles – Storing Your Foil Kite the Right Way
- Step 8: Should You Switch to a Foil Kite? Pros & Cons
Why Are Foil Kites So Hard to Untangle?
Unlike inflatable kites, which have four simple lines, foil kites have an intricate bridle system with multiple attachment points. These kites are made up of:
✔ Rows of bridle lines labeled A, B, C, and sometimes D, connecting the canopy to the main bridles
✔ Cascading attachment points that distribute power evenly across the kite
✔ Thin, lightweight lines that can easily tangle if not packed properly
This complexity is what gives foil kites their insane efficiency, powerful lift, and hangtime—but it also means you need to know what you’re looking at when untangling them.

What This Guide Will Teach You
✅ The golden rule of untangling a foil kite (this one trick changes everything)
✅ Step-by-step instructions to fix even the worst tangles in minutes
✅ Common mistakes that make the problem worse—and how to avoid them
✅ Pro tips to keep your foil kite from tangling in the first place
Whether you're flying an Ozone R1, Flysurfer Soul, F-One Diablo, or any other closed-cell foil kite, this method works every time.
If you’ve ever thought, "My foil kite is ruined. There's no way I can fix this mess,"—think again. Follow this method, and you'll be back on the water faster than you ever thought possible.
Next Step:
Now, let’s break down exactly how a foil kite’s bridle system works, so you can start untangling like a pro.
Understanding Foil Kite Bridles: Why They Look Tangled (But Aren’t)
Before you start pulling on random lines, it’s important to understand how a foil kite’s bridle system works. The reason most riders struggle with untangling foil kites is they don’t actually know what they’re looking at—so let’s break it down.
How a Foil Kite’s Bridle System Works
Foil kites are designed with multiple layers of attachment points that distribute power evenly across the canopy. Here’s what you’re dealing with:
✔ A, B, C, and D rows – These are the horizontal bridle rows, connecting the kite’s leading edge to the trailing edge. Think of them like suspension cables on a bridge, keeping everything structured and in place.
✔ Main bridle lines – These thicker lines connect the canopy rows to the main power lines, which attach to your bar.
✔ Cascading attachment points – Each bridle line links to others in a cascading pattern, creating a complex web of support.
This multi-point connection system is what makes foil kites so powerful and efficient—but it’s also what makes them look like a tangled disaster when you first take them out of the bag.


Why Do Foil Kites Get So Tangled?
Most of the time, foil kites look way more tangled than they actually are. The thin lines get twisted and looped around each other, but in reality:
❌ There are rarely actual knots – Most of what looks like a mess will slide apart easily once you start from the right place.
❌ Packing mistakes cause 90% of tangles – Not folding the kite properly, letting the bar spin, or shoving everything into a bag can make the bridle system look like a nightmare.
❌ The more you pull at random lines, the worse it gets – If you start yanking lines without a method, you’ll make things way harder than they need to be.
The Key to Untangling a Foil Kite
Instead of trying to fix the whole mess at once, you need to focus on one section at a time—starting with the A row and working your way down.
🔥 Remember this rule: A first, then B, then C, then D.
This method breaks the problem down into smaller steps and helps you fix the mess without getting overwhelmed.
Next Step:
Now that you understand why foil kites look tangled and how the bridle system works, let’s get into the step-by-step process to untangle them like a pro.
Step 1: Don’t Look at the Tangles—Start with the A’s
The biggest mistake people make when untangling a foil kite? They fixate on the tangles. The more you stare at the mess, the more overwhelming it feels. Instead, ignore the knots and start with the A row.
Why Start with the A Row?
✔ The A row is the first attachment point on the leading edge—this means if you untangle it first, the rest of the kite naturally starts to fall into place.
✔ By isolating one section at a time, you prevent unnecessary pulling and twisting that could make the mess worse.
✔ Most major tangles start at the A row—fix this, and you’re already halfway to a clean bridle.


How to Untangle the A Row Like a Pro
1️⃣ Find the A row connections on the kite. These are the first bridle points near the leading edge.
2️⃣ Grab both A row attachment points with your hands. This ensures you’re only working with that section.
3️⃣ Walk your hands down the A lines toward the main bridle connection. If you feel tension, don’t yank—just shake it loose.
4️⃣ Pull the A lines through gently. This will automatically bring most of the tangled mess forward, letting you loosen loops and twists as you go.
🔥 Pro Tip: If you feel resistance, don’t force it. Go back up to the kite, adjust the A line connection points, and try again.
What Happens After the A’s Are Untangled?
Once the A’s are clean, you’ll notice that a huge portion of the "tangle" disappears—this is because the B, C, and D rows naturally follow the A’s. Now, it’s time to move on to Step 2: Sorting Out the B Row.
Step 2: Move to the B Bridles
Once the A bridles are untangled, the B bridles naturally begin to fall into place. However, this step still requires careful guidance to prevent crossovers and maintain clean alignment.
🔹 Why Untangling the B Bridles Next is Critical
The B bridles act as a secondary support structure for your kite, sitting between the A and C lines. If they remain tangled, they can create hidden snags that lead to uneven inflation, poor kite response, or even unwanted collapses mid-flight. Untangling them at this stage ensures that the rest of your bridle system falls into place smoothly.
🔹 How to Prevent Crossovers When Pulling Through
- Work from the kite outward – Instead of yanking at a tangled mess, follow each B bridle from the kite’s leading edge down toward the mixer.
- Lift and separate – Rather than dragging them through a knot, gently lift sections to let the lines fall into their natural positions.
- Avoid rushing – Moving too fast can inadvertently twist or loop lines over each other, leading to more time-consuming fixes later.
🔹 Final Check: Guide, Don’t Force
At this point, your B bridles should be mostly untangled. If they still seem messy, resist the temptation to pull aggressively—let them settle naturally as you work toward the C and Z bridles.
Step 3: Untangle the C and D Bridles
With the A and B bridles sorted, the remaining steps become much easier. The C and D bridles (also called the brake lines) are the last sections to check before your foil kite is fully prepped for launch.
🔹 Why C and D Bridles Are the Easiest to Untangle
Since these lines attach further back on the kite, they experience less direct tension during setup, meaning they rarely form deep knots. However, they can still loop over each other or twist if not handled properly.
🔹 Best Practices for a Clean Setup
- Follow the flow – By this stage, most tangles have naturally worked themselves out. Simply run your fingers along the C and Z bridles to confirm they are separate and aligned.
- Watch for hidden twists – Occasionally, these bridles can wrap around pulleys or mixer lines. Look closely at connection points to avoid any surprises in flight.
- Check brake line tension – Before finishing, gently pull on your brake lines to ensure they run freely without resistance.
🔹 The Final Alignment
After untangling, step back and give your entire bridle system a quick visual check. The lines should be evenly spaced and free of any snags before moving on to kite inflation and pre-flight checks.

Step 4: Final Bridle Check and Pre-Flight Prep
Now that the A, B, C, and Z bridles are untangled, it’s time for a final check before launching. This step ensures your kite will fly smoothly without unexpected stalls, uneven inflation, or bridle snags.
🔹 The Final Bridle Inspection
Before taking off, run through this quick checklist:
✅ Look for twists or crossovers – Step back and scan the entire bridle system. Any misplaced line should be corrected now.
✅ Check pulley movement – Ensure pulleys are free of sand or debris and can move smoothly when tension is applied.
✅ Verify connection points – Inspect the mixer system and attachment points for any hidden loops or misalignments.
✅ Pull test – Gently apply tension to the kite’s lines while standing at the bar. Each bridle group should respond evenly without resistance.
🔹 Common Issues to Watch For
🚩 Bridles looping around pulleys – This can restrict the kite’s depower range and cause unexpected stalls.
🚩 Hidden knots in mixer lines – Even small knots can throw off flight dynamics. If you spot one, take the time to untie it.
🚩 Uneven tension – If one side feels tighter than the other, double-check the bridle paths for crossover sections.
🔹 You’re Ready to Launch!
With your foil kite’s bridles fully organized, you're now set for inflation and launch. Taking these extra moments for a thorough bridle check ensures a smooth, controlled flight—whether you’re on land, snow, or water.
Step 5: Inflation and Line Tension Check
With your bridles fully untangled and inspected, the next step is inflating your foil kite while ensuring proper line tension. This phase is crucial for a smooth launch and controlled flight.
🔹 How to Inflate Your Foil Kite Properly
- Find the wind window – Lay the kite out so the leading edge catches the wind naturally.
- Pre-fill before launching – If the wind is light, gently lift and shake the kite to help air enter the cells evenly.
- Watch for uneven inflation – The kite should expand symmetrically. If one side lags, check for trapped air or minor bridle misalignments.
🔹 Checking Line Tension Before Launch
✅ Stand at the bar and apply gentle pressure – Your power lines (front) and brake lines (rear) should feel balanced.
✅ Look for slack or snags – Any uneven tension suggests a bridle or mixer issue.
✅ Test steering response – Lightly pull each side of the bar to confirm smooth control inputs.
🔹 Avoid These Common Mistakes
🚩 Launching with slack lines – This can cause an uncontrolled or backward launch.
🚩 Overfilling the kite too quickly – Rushing inflation in strong winds can lead to aggressive takeoffs or bridle tangles.
🚩 Ignoring asymmetrical inflation – If one side fills slower, pause and troubleshoot before launching.
🔹 You’re Almost Ready to Fly!
Once your kite is fully inflated and lines are evenly tensioned, you’re in the final stage—preparing for a safe and controlled launch.


Step 6: Connecting to the Kite & Final Checks
Before launching, it’s essential to inspect your lines and ensure your bridles are completely untangled. Any unnoticed twists or crossovers can drastically affect your kite’s flight performance.
🔹 How to Inspect Your Lines Before Launching
✅ Lay out your lines carefully – Spread them in a straight line from the bar to the kite to prevent any hidden twists.
✅ Check for crossovers – Walk along the lines and look for any points where they cross over each other.
✅ Verify your bar orientation – Make sure your bar is set correctly, with the red side (or marked side) on the left.
✅ Test depower & safety system – Pull the depower trim and activate the quick release to confirm they function smoothly.
🔹 How to Spot Hidden Crossovers That Could Affect Flight
- Look for subtle overlaps – Sometimes lines appear straight but are actually crossed near the bar or at the attachment points.
- Run your hands along each line – This helps detect any twists that may not be visible from a distance.
- Gently pull each line – Light tension can reveal inconsistencies before you launch.
🔹 The Final Bridle Check
Before sending the kite into the air, do one last walk-around inspection to ensure:
✔ All bridles are free of loops or knots
✔ Mixer system is correctly aligned
✔ Pulleys are moving freely without obstruction
✔ No sections of the bridle are wrapped around another line
🔹 Last Call Before Takeoff
Once everything looks correct, you’re ready to launch! Taking a few extra seconds for this final check can save you from major problems mid-session.
Step 7: Preventing Tangles – Storing Your Foil Kite the Right Way
A well-packed foil kite makes your next session easier, preventing knots and reducing setup time. Proper storage ensures your bridles stay organized, your lines remain untangled, and your gear lasts longer.
🔹 The Best Way to Pack Your Kite to Avoid Future Tangles
✅ Keep tension on the lines as you walk toward the kite – This prevents slack that could cause loops or knots.
✅ Lay the kite flat and fold symmetrically – Avoid crumpling it to prevent bridle tangles.
✅ Roll from the wingtips inward – This keeps the air moving out and prevents uneven packing.
🔹 Why Using the Factory Bridle Pouches Helps
Most foil kites come with a built-in bridle storage system inside the bag. Using these pouches keeps the bridles neatly in place and prevents them from shifting during transport. If your kite doesn’t have a pouch, use a mesh bag or Velcro ties to keep everything contained.
🔹 Pro Tip: Clip Your Pigtails Together Before Storing
- Tie your steering lines together and power lines together – This prevents them from twisting against each other in the bag.
- Use a small elastic band or Velcro strap – Keeping the pigtails snug reduces movement and stops unwanted tangles.
🔹 Why Proper Storage Saves You Time Later
The way you put your kite away directly impacts how easy your next setup will be. Taking the extra minute to store it properly means
:✔ Faster rigging next session
✔ Less time spent untangling bridles
✔ Fewer headaches dealing with crossed lines
Step 8: Should You Switch to a Foil Kite? Pros & Cons
Foil kites have a unique appeal, offering advantages that inflatable kites can’t match—especially in light wind conditions. But they also come
🔹 Why Foil Kites Are Game-Changers for Light Wind and Big Air
✅ Superior Low-Wind Performance – Foil kites generate lift even in the lightest breezes, making them ideal for hydrofoiling and light-wind riding.
✅ Massive Hangtime – In big air disciplines, foil kites provide incredible float and glide, keeping you in the air longer.
✅ No Pump Required – Unlike inflatables, foil kites self-inflate using internal cells, making them ultra-light and efficient.
🔹 Are Foil Kites Harder to Maintain Than Inflatables?
🔸 More Complex Setup – Bridles require careful untangling and organization before each session.
🔸 Slower Water Relaunch – Unlike inflatables, foil kites don’t have a rigid structure, so relaunching from water takes practice.
🔸 Delicate Material – The ultra-lightweight fabric is more prone to wear and tear if not handled properly.


🔹 Foil Kites Have a Learning Curve, But…
Once you master the setup, foil kites can actually be faster to rig than inflatables. With proper packing and storage techniques (covered in Step 7), you can cut down setup time and get on the water quickly.
🔹 Should You Make the Switch?
Foil kites are best suited for riders who:
✔ Want maximum efficiency in light wind
✔ Are looking for insane lift and float in jumps
✔ Have the patience to learn proper bridle management and relaunch techniques
If you mainly ride in strong winds, prefer quick relaunches, or dislike handling bridles, inflatables might still be the better choice.
That’s a complete breakdown of how to untangle, launch, and store a foil kite for smooth sessions. Here’s a quick recap:
📌 Start with the A bridles and work your way back to prevent crossovers
📌 Always do a final check before launching to avoid mid-session surprises
📌 Proper storage is key to making your next setup easier
📌 Foil kites offer game-changing performance, but they require patience and skill to master
💬 Got questions about foil kite setup? Drop them in the comments!
👉 Need gear, lessons, or foil kite setup help? Check out Elite Watersports for expert advice.
Where to take kiteboarding lessons in Florida.
 Reserve A Lesson
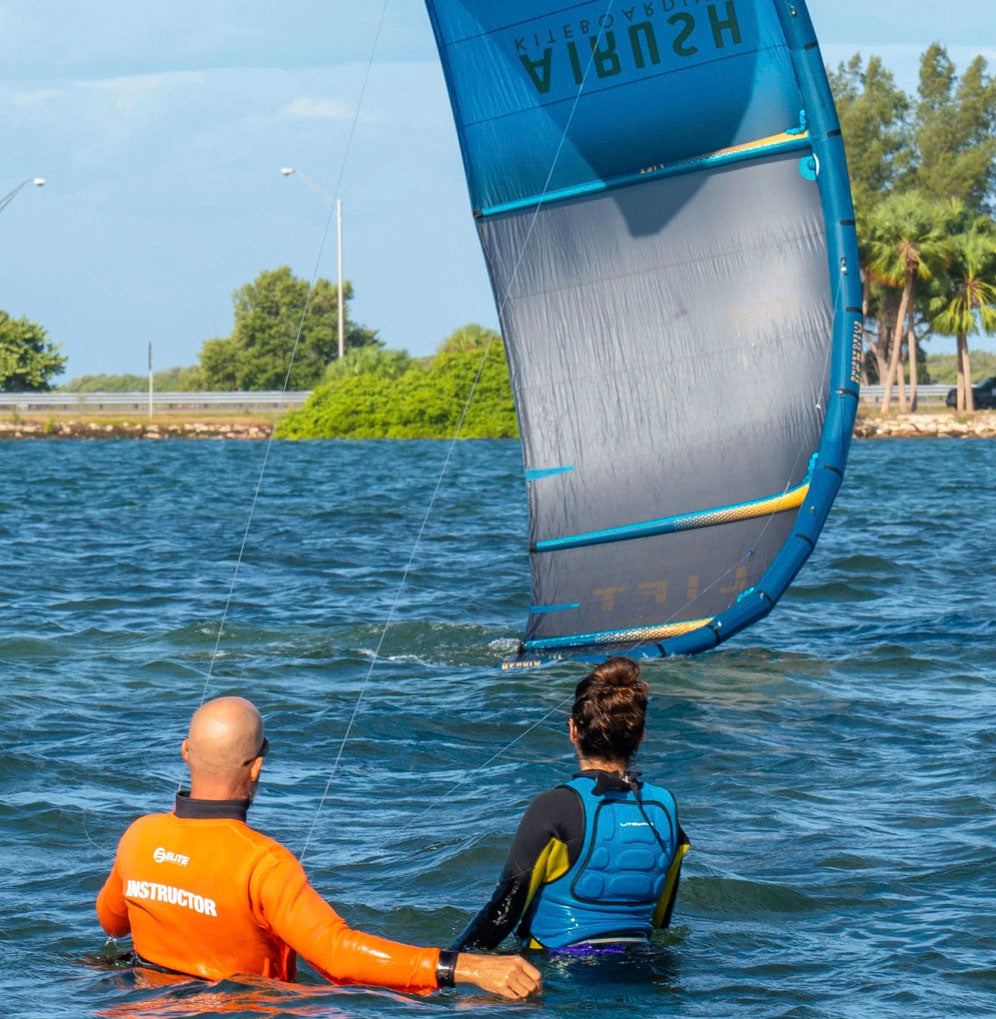
The nearest kiteboarding shop and kite school that services Dunedin and Clearwater is Elite Watersports located in St Petersburg. Give us a call and we can get you up and riding in no time. We teach kitesurfing lessons at Skyway beach a short drive south of Dunedin. Our condions are also beginner friendly and perfect for learning.
Call us for more info on kiteboarding in Florida.
Elite Watersports has served the Tampa and St Petersburg area for years. They offer kiteboarding and wingsurfing lessons. They also have a retail shop equpit with all of the latest kitesurfing gear.
If you need help give us a call. .
(727)-800-2202


Author

Ryan "Rygo" Goloversic
Rygo is a globally recognized kiteboarder, Airush team rider and an advocate for wakestyle kiteboarding. When he's not writing articles or producing kite videos you can catch him competing on the KPLxGKA world tour or grinding it out in the gym
Tags
Kiteboarding Waterstart
You May Also Like
Want To learn more about kiteboarding?
Follow us to receive the latest update on our journey experience


