ELITE WATERSPORTS
Last updated 6-22-2024
Fly your kite better.
Drills to be a better kiteboarder.

How do I fly a kiteboarding kite better? 5 Drills to master kite control.
This blog will share 5 fundamental tips to master kite control. Today, we're discussing the lost art of controlling your kite with the edge of your board, not just the control bar. 15 years ago in kiteboarding, you had no choice but to control your kite with your edging technique. We didn't have sophisticated kites like we do now, like the Airush Lithium or the Core XR. Kites had no bridal and required more skill from the rider.
While modern kites have made the skill of controlling with the edge of your board almost obsolete, many kiteboarders would benefit greatly from understanding the basics.
These fundamental kite and edge skills pave the way for better kiteboarding and enhance your overall experience. Learning these techniques will help you kitesurf better, learn new tricks more easily, jump higher, and look better, and add excitement and fun to your kiteboarding sessions.
You will learn about the proper kiteboarding body mechanics, the correct angle to approach kiteboarding tricks, how to fly a kite better, and how to improve your load and pop technique. Best of all, you can practice these skills no matter your level. You can start practicing these skills today if you just wrapped up kiteboarding lessons.


Table Of Content
- Fly your kiteboarding kite better - Drill #1: Edge the kite with one hand.
- Fly your kiteboarding kite better - Drill #2: Build speed with your edge.
- How to Fly your Kiteboarding Kite Better - Drill #3: Kiteboarding Jumps.
- How do I ride a kiteboard better? Drill #4 Riding Stance
- How do I ride a kiteboard better? Drill #5 Approach for Tricks
Fly your kiteboarding kite better - Drill #1: Edge the kite with one hand.
This drill is handy when you're in a situation where you need to control your kite with one hand, such as when you're doing grabs on kiteboarding jumps or when you need to make fast landings.First, ensure your safety. Before attempting any drill, ensure you're in a safe and open area, away from obstacles and other kiteboarders.
Now, let's learn how to control the kite with one hand while using the edge of your board. Split the kiteboarding control bar center line with your index and middle fingers, keep the kite low, and hold the bar with a wide grip using your pinkie and thumb.
Stand in an athletic stance with your weight centered over the board. Imagine you're a skateboarder or snowboarder for this upright stance. Ride slightly at the kite, not quite downwind, and start steering your kite up and down.
Experiment with edging your kiteboard a little, steering the kite up, then coming off your edge and steering the kite down. Perform small turns in the water and pay attention to how the edge of your board impacts the kite.

The goal here is to ride with your kite low and scoop it up and down on one side of the wind window. This drill will teach you how your specific kiteboarding kite responds to edging. One potential challenge you may face is that some kites respond more than others, so getting used to your specific model may take some time. This drill will also help improve your landings for bigger kiteboarding tricks when you land with one hand going fast downwind. Another challenge you may encounter is that landing with one hand going fast downwind can be tricky at first, but with practice, you'll be able to do it more smoothly.
Split the kiteboarding control bar: Use your index and middle fingers to split the bar. This teaches you to control your kite with one hand. This is useful for doing grabs on kiteboarding jumps and for fast landings.
Wider Grip: Hold the bar wider with your pinkie and thumb. This helps with leverage when flying a kite with one hand.
Athletic Stance: Stand with your weight centered over the board, not leaning back. The upward stance is the correct way to land on a kiteboard after a jump or trick.
Ride Slightly Downwind: Ride slightly at the kite, not directly downwind. You will be riding downwind after a jump. Steer the Kite: Start steering your kite up and down, doing small S-turns to feel how the edge of your board impacts the kite. This drill will teach you to control your specific kite better.
Fly your kiteboarding kite better - Drill #2: Build speed with your edge.
The focus of this drill is to go faster and keep the control bar sheeted fully in for maximum power and response to your edging. You can use two hands or one hand for this drill.
The aim is to improve your speed and how hard you can load and edge against the kite. Get into an athletic stance with your weight on top of the kiteboard.
Ride downwind to pick up speed, then edge hard upwind, making your kite shoot forward to the edge of the wind window. You will be leaning back against the kite when loading.
Different kites will respond differently, so practice with your specific kite to understand its behavior. For example, all-around kites like the Airush Lithium might not move much, while more responsive models like wave or freestyle kites will respond better to your edging. This drill will build muscle memory for speed and edge control to load better jumps.
Kiteboarding Stance: Maintain an upright stance with weight over the board. Alternate between loading the kite by leaning back and standing up.
Minimal Sheeting: Keep your kite sheeted in for more power. Learn how to create more speed with the edge of your kiteboard.
Edge Hard: Edge hard upwind to make your kite shoot forward in the wind window and build more leg strength for loading up jumps.
How to Fly your Kiteboarding Kite Better - Drill #3: Kiteboarding Jumps.
Now, let's combine the first two drills in your next jump. Remember, board speed is an essential factor in how hard your pop is and how high you can jump or load and pop. So, step one: use your newly practiced edge control skills to get as much speed as possible.
Step two: send the kite up and load up a jump. Step three: drive the edge of the kiteboard through the water and release by popping off your back leg as the kite is approaching noon.
Once you're airborne, the focus is to steer the kite back and forth above your head. The higher you jump, the more you can move the kite. Moving the kite back and forth above you will create a little more loft and help you build kite awareness. As you feel you're self coming back down, pull hard on your front hand to send the kite forward. Roughly 8 feet above the water is an excellent time to redirect the kite.
You can let go with your back hand and fly the kite with one hand like you practiced in the first drill. Land with your weight on top of the kiteboard. Land riding is slightly downwind, as you have practiced before. It helps a lot to touchdown with the tail of the kiteboard first to absorb the landing better. Ride downwind briefly to lose a little speed before you edge back upwind.
By diligently practicing and combining these three drills, you'll notice a significant improvement in your kite control. Your tricks will feel smoother and look more impressive, and you'll gain a deeper understanding of controlling your kite with the edge of your board.
This focused practice will enhance your skills and instill a sense of determination and commitment in your kiteboarding journey.
Increase Board Speed: Use edging to pick up speed.
Line Tension: Feel the line tension and learn to control it while loading, in the air, and when landing.
Jump with power and Control: When jumping, keep the kite in front of you. Release your edge as the kite goes from 10 to 12 o'clock and sheet the control bar in.
Practice landing kiteboard jumps: Focus on lading with control and not on the edge of your kiteboard. One of the most common reasons people fall on their back is because they favor an edge on touchdown.
How do I ride a kiteboard better? Drill #4 Riding Stance
To take things to the next level, we will talk about body mechanics. Proper riding stance is imperative for better kiteboarding. Think about this for a second. Are you being held up by your kite or actively riding the board?
Many kiteboarders habitually lean back in the harness, letting the kite support their weight. This position can become a default, leading to an awkward stance, especially during jumps and landings.
You might notice kitesurfers who jump with their legs dangling awkwardly and then land stiffly, often falling backward. If you've felt unathletic or out of control during jumps, it's likely because you've developed this habit.To combat this, aim for an athletic stance.
This is the stance where you are riding on top of the kiteboard and using board speed to ride rather than leaning back into the kite. This stance allows you to control your kiteboard effectively. Posture is important when you do lean back to load for a trick. Here are the key points to focus on.
Kiteboarding Loading Stance: Don't lean forward and mind your posture. Don't hinge or bend your hips. When loading, lean back and push your hips forward. Let your shoulders back and use your whole posterior chain of muscles to load the board's edge. If you lean forward, you only use a quarter of your strength, which will take power out of the pop.
Kiteboarding Landing Stance: Aim for a stance similar to that of surfers, snowboarders, or skateboarders. Your weight should be over the board, with shoulders stacked over hips, hips over knees, and knees over ankles. This is the stance used for riding downwind and for landings.
Alternate Your Stance: Get used to both riding stances and use repetition so you can use them when they count. Muscle memory is everything in kiteboarding.
Drive Your Heels for Loading: Pointing your toes up and driving your heels down is a good technique. If you are loading with good posture, you'll have lots of leverage to control your speed. Remember, speed equals height and amplitude for kiteboarding jumps. Good body mechanics allow you to control the power better.
How do I ride a kiteboard better? Drill #5 Approach for Tricks
Lastly, let's discuss the approach to tricks. Many kiteboarders need to correct this, and it's easy to tell a beginner from an expert based on their approach. Unlike other board sports, in kiteboarding, we change direction mid-air.
We do not land riding in the direction we take off. We go downwind a little to build speed, carve into the wind to pop, and once airborne, we change directions and fly downwind. If you often find yourself landing awkwardly or feeling out of control, it's likely because you need to adjust your stance mid-air.
A common mistake is riders trying to land across to the wind or riding upwind. This always leads to falling on your back.
Keep this in mind when loading up for your next kiteboarding jump or load and pop.
Go downwind to build speed, load the kite riding upwind, and then adjust your body once in the air. You can bring your knees in to keep a smaller center of gravity and point your lead hip somewhat downwind.
When you redirect the kite, feel the pull of the kite and let it bring the nose of your board forward somewhat downwind.
By practicing this approach and being mindful of your direction of travel, you'll find that your jumps become more fluid and that you have better control over your landings.
Kiteboarding videos for training
Visit our YouTube for hundreds of kiteboarding training videos that you can reference after your lessons.
Take advanced lessons: Elite Watersports does offer Intermediate and advanced kiteboarding lessons are the best way to improve fast.
Leveraging Local Knowledge.
Choosing the right kitesurfing gear involves understanding your riding goals and options and testing them for yourself. Leveraging the shop's local expertise is imperative, as they have years of experience trying different gear.
It's tempting to talk with random people on the beach or online, but chances are they are too hyped about their tribe to look objectively at gear. You can learn a lot from talking with everyone but try to see things for yourself with unbiased eyes.
In 2024, we live in a time of abundance; all kites from major brands are great but have their own flavor.
Where can I buy a kiteboarding kite?
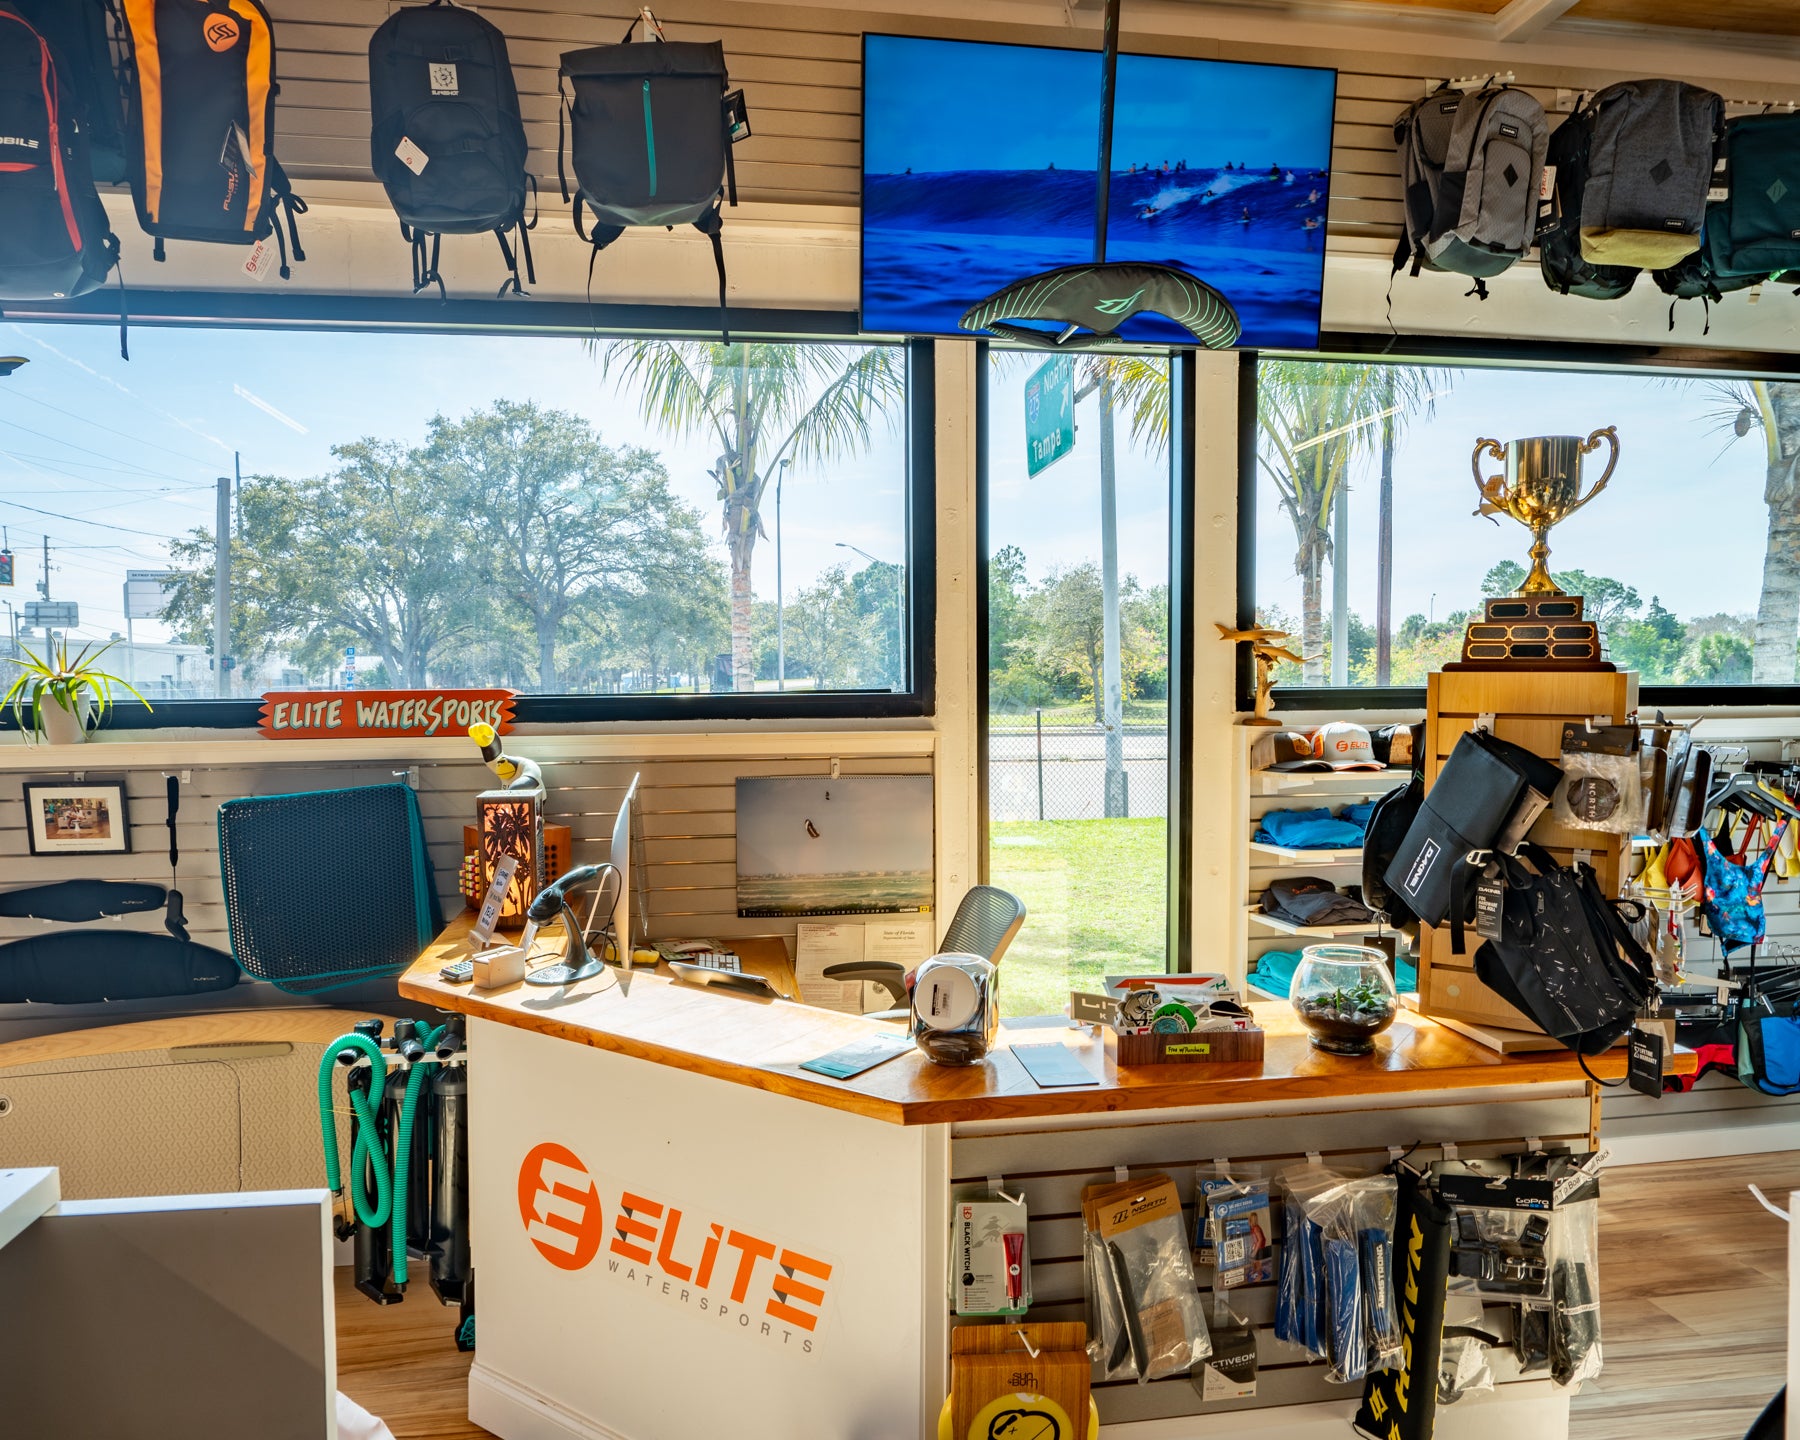
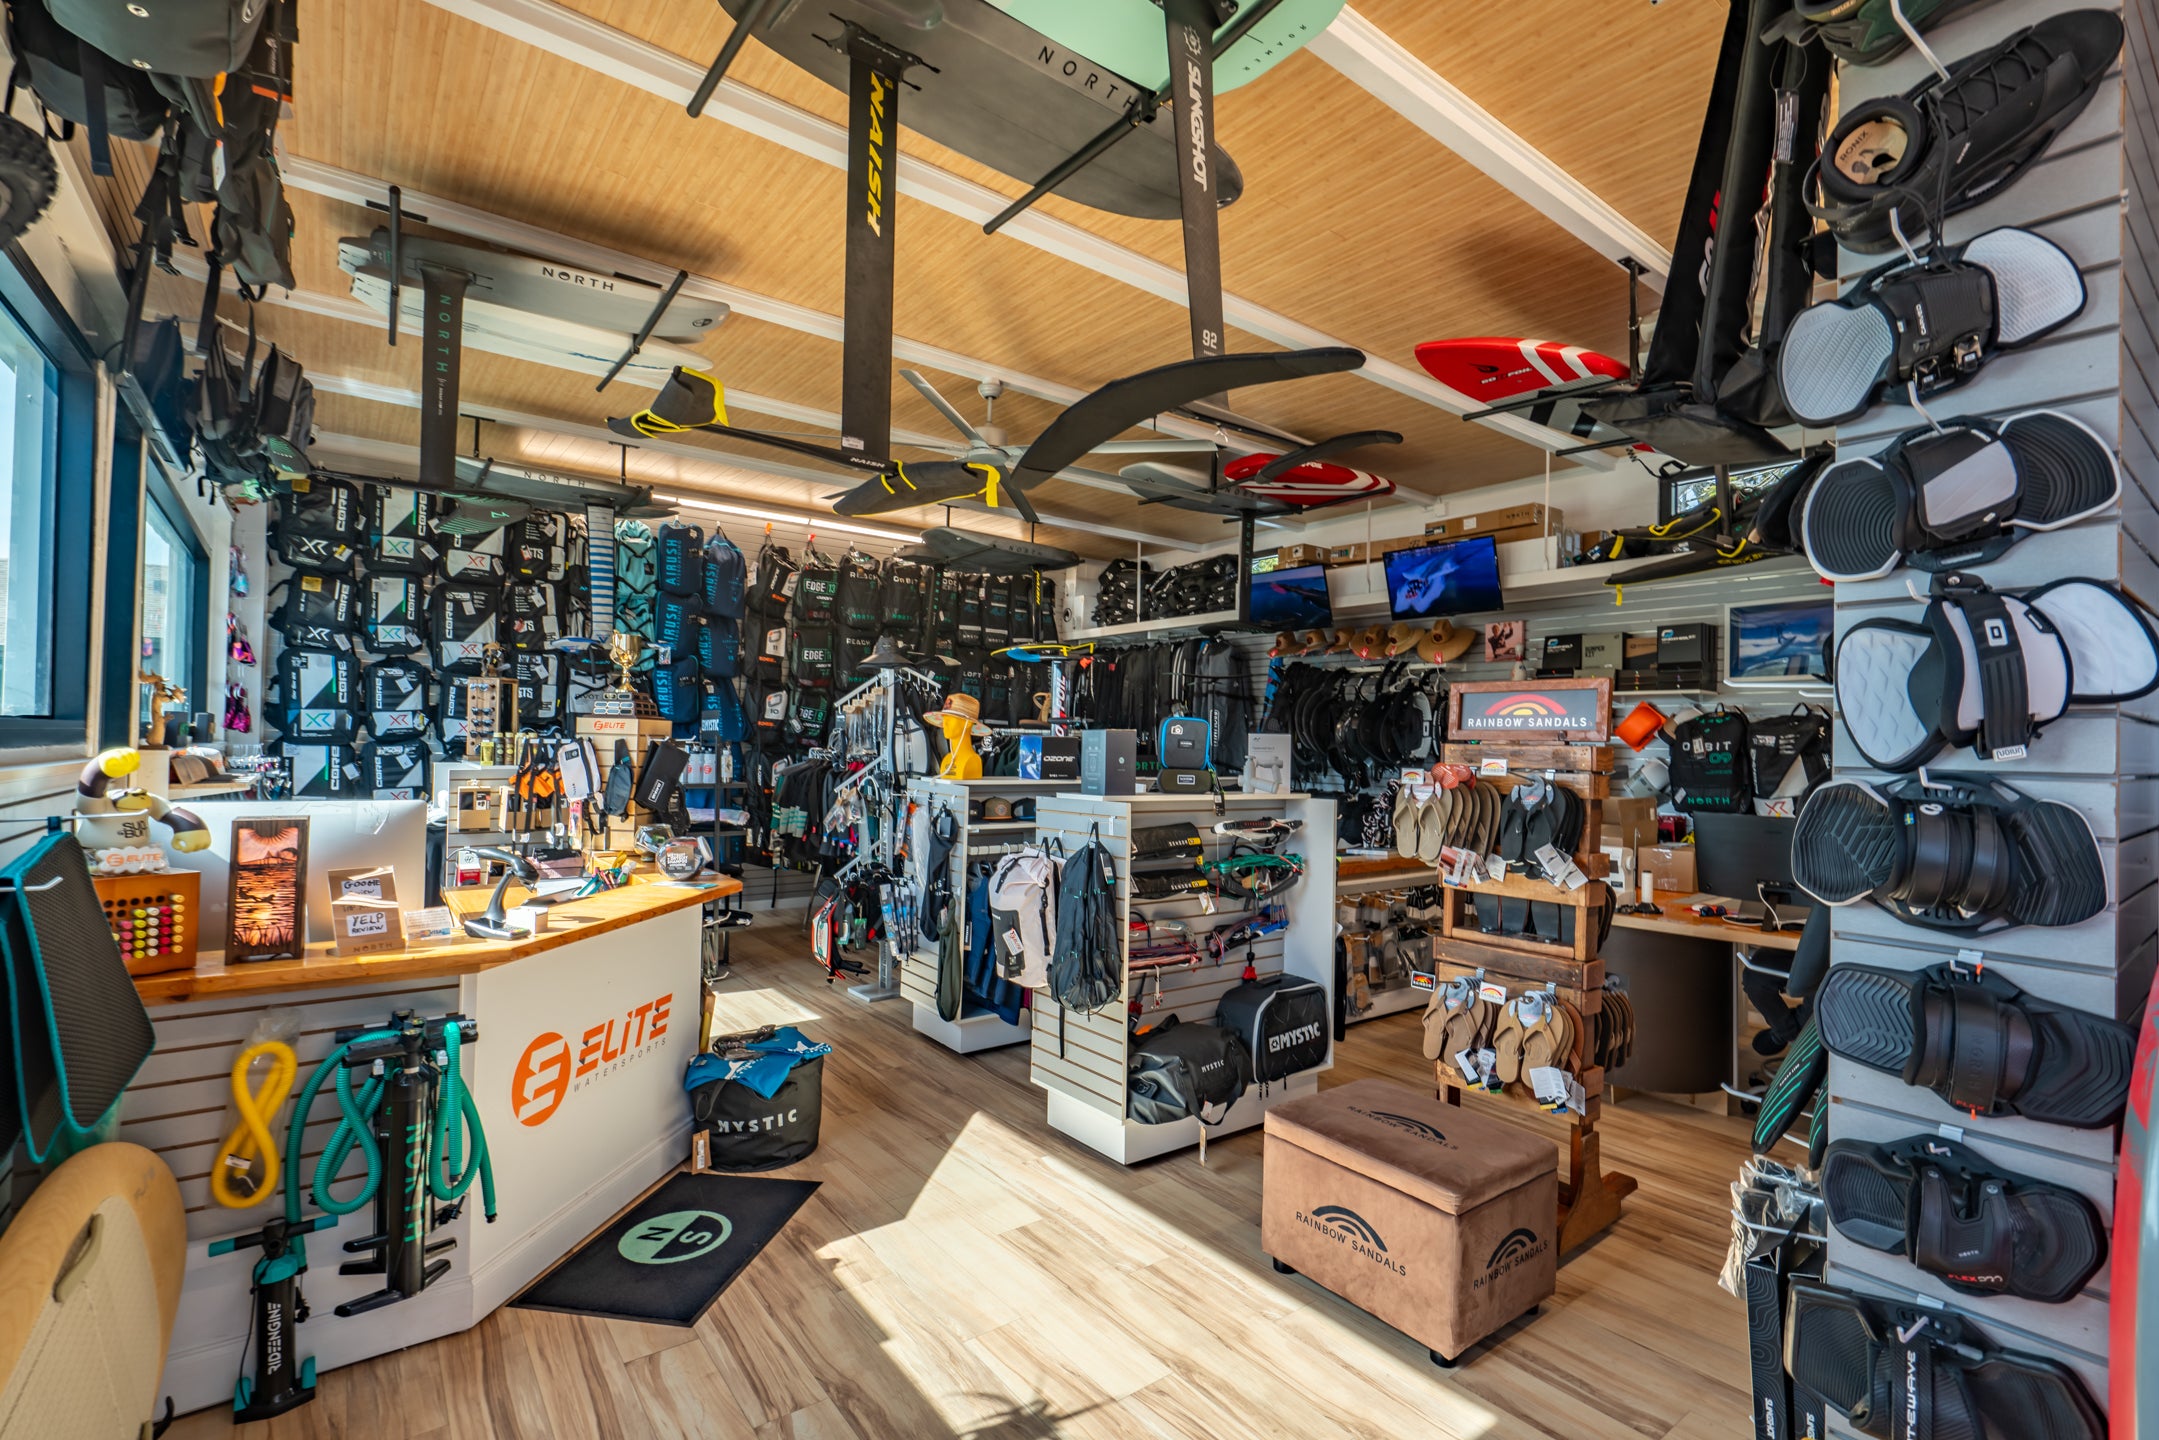
The expert team at Elite Watersports is here to serve. If you have any kiteboarding related questions call us. We can build custom kiteboarding packages, book kiteboarding lessons or simply offer helpful advice. We're your one stop shop for kiteboarding knowledge.
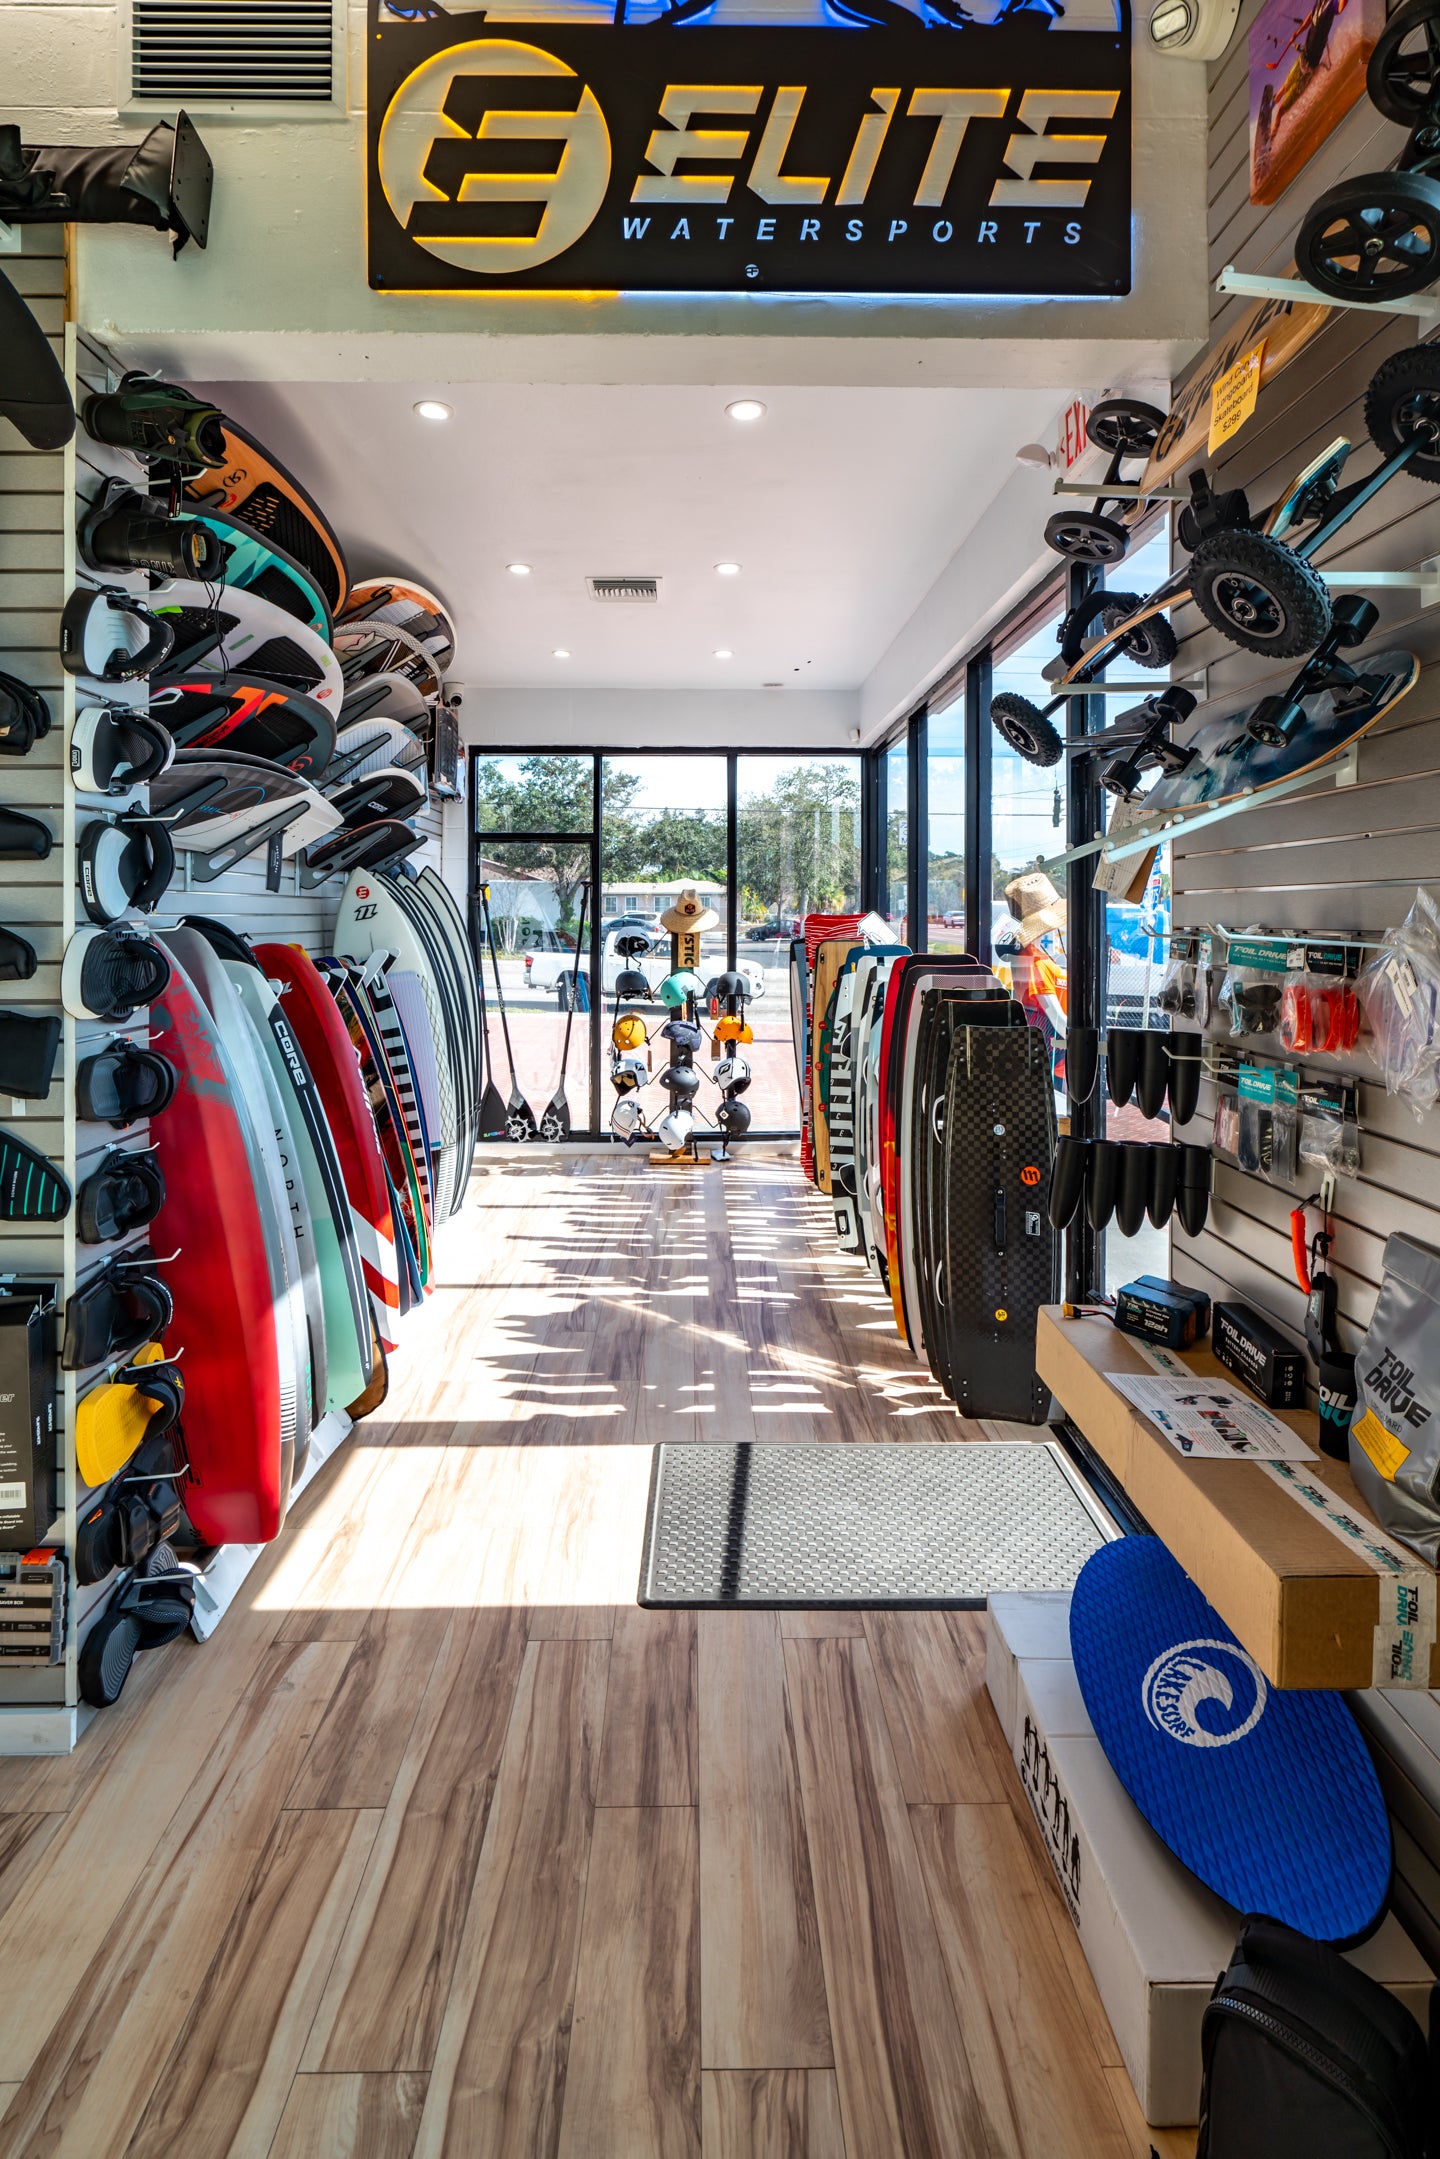
Swing by the shop and you can try on different kiteboarding harnesses and more.
If you need help deciding on your first kiteboarding kite give Elite Watersports a call. We're happy to set you up with your first kiteboarding kite.
(727)-800-2202
Author

Ryan "Rygo" Goloversic
Tags
Kiteboarding
Kiteboarding lessons
You May Also Like
Want To learn more about kiteboarding?
Follow us to receive the latest update on our journey experience

