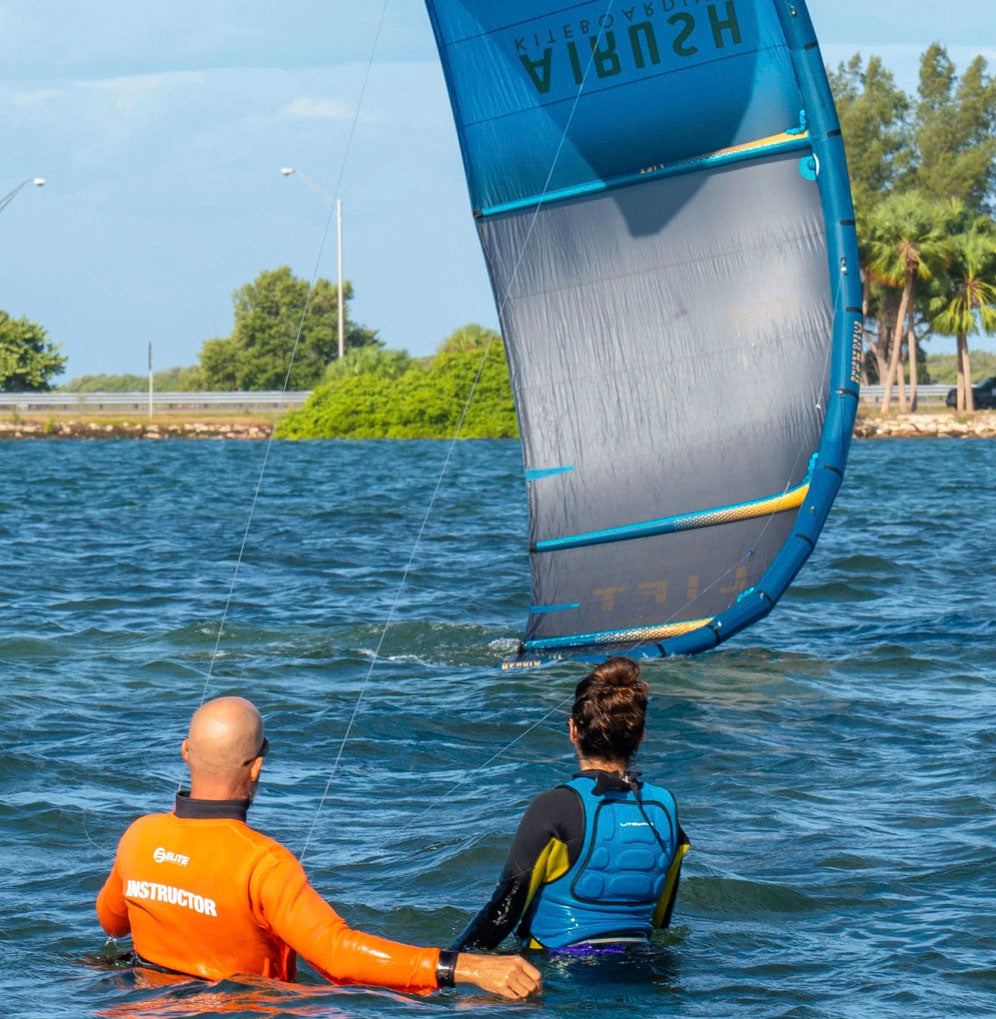
ELITE WATERSPORTS
Last updated 12-14 -2024
A Guide to Kite Control Bar Maintenance.
Everything you need to know.

How to Prevent Kiteboarding Line Inversions and more
If you’ve ever finished a kiteboarding session only to find your lines tangled or inverted the next time you set up, you’re not alone. Line inversions are a common frustration, especially for beginners. In this guide, we’ll explore actionable tips to help you wrap and store your kiteboarding control bar properly to avoid line tangles and inversions.
Additionally, we’ll dive into real-world scenarios shared by Aaron from Elite Watersports and answer frequently asked questions about kiteboarding control bars to elevate your skills and confidence on the beach.


Table Of Content
- Why Do Kiteboarding Lines Get Inverted?
- Why do kitelines get inverted?
- How to avoid inverting kite lines.
- Pro tips for kiteboarding lines.
- Faq about kite lines.
- Kiteboarding Bar Juggling: How to fix your lines.
- Why Elite Watersports
Why do Kite lines get inverted?
Lines get inverted when they cross over or wrap around each other, often caused by improper wrapping, handling, or storing of your control bar.
This can happen when:
• The bar is placed carelessly on the beach.
• Lines are not secured tightly while wrapping the bar.
• The kite or bar is moved improperly during a break or relocation.
To avoid these issues, follow these step-by-step instructions for wrapping and storing your lines correctly, and learn from Aaron’s hands-on advice.

Wrapping Lines Without Inverting Them:
Let’s paint that perfect scenario: You just landed your kite on the beach, your lines are still strung out, and maybe you’ve pulled them onto the beach a bit. Now you need to wrap up those lines.Here’s what to do:
1. Get Lines Tight Before Wrapping
After landing your kite, position your control bar away from the kite so that your lines remain taut and organized during the wrapping process.. Keep the lines tight to avoid tangling or inversions.
2. Wrap the Lines Around the Bar
Begin wrapping your lines neatly around the bar. Pull them tight as you wrap. When you get to the end add a couple of extra wraps for better organization and use bungees or line keepers to secure the lines.
Wrapping tight lines ensures you avoid tangles or messy lines for your next session.
3. Avoid Tossing the Bar on the Beach
Placing the bar haphazardly increases the risk of lines crossing over the bar, causing inversions. Always set your bar down carefully, ensuring it’s separated from the kite and lines are taut. If you need to set the bar down, place it flat and aligned to prevent accidental tangling.
How to avoid inverting your kite lines
Techniques to Avoid Inversion:
If you need to move your kite while lines are attached:
Hook in: Attach the bar to your harness or hold it securely. This keeps control of the lines and prevents them from crossing.
Stay organized: Keep the lines inside the kite's arch. If lines shift outside of the canopy, tangles or inversions are likely.
Watch where you go: Never let the bar drag or step through lines. Moving through lines can quickly cause inversions."

Packing and Transporting you control bar
When packing up, especially for downwinders or boat rides; deflate your kite and fold it carefully.
How to pack: Keep lines organized and attached to the bar. Secure the bar in the kite bag’s bar pouch.
How to unpack: When unpacking, maintain control of the bar and lines. This ensures that lines stay untangled and inversion-free.
Handling Bars for Multiple Kites
If you have multiple kites with their own bars, store each bar properly attached to its kite.
Time managment: This minimizes rigging time and prevents tangles.Be cautious during storage. Even with dedicated bars, lines can invert if not stored correctly.
Sometimes it's best to detach the lines but if you can master this, things will go much faster.
Pro tips for kiteboarding lines
Advanced Tips for Mastering Kiteboarding Line Management
Use Memory and Habits: Aaron emphasizes building habits for wrapping and storing your gear. Consistency is key to avoiding mistakes.
Follow the Rules: Keep lines tight, avoid stepping through, and always check alignment before launching.
Teach Others: Sharing your knowledge strengthens the kiteboarding community and ensures everyone has a safer, more enjoyable experience. Plus, teaching is the best way to learn anything!


FAQs About Kiteboarding Control Bars and Line Management
What Should I Do If My Lines Are Already Inverted?
If you discover inverted lines:
1. Detach your lines from the kite.
2. Lay them flat and straight on the beach and run them again.
3. Or use “bar juggling” or “bar magic” techniques to realign the lines. We'll include a video in the next section.
How Do I Store My Control Bar When Moving Locations?
For short distances: Attach the bar to your harness or hold it securely.
For long distances or confined spaces: Deflate the kite, wrap the lines tightly, and store the bar in your kite bag’s pouch.
Is It Better to Have a Separate Bar for Each Kite?
Using a dedicated bar that's always attached for each kite can save time but requires meticulous care. If lines become inverted, follow proper unwrapping techniques to avoid re-rigging frustrations.
What Are Common Mistakes When Wrapping a Control Bar?
Slack Lines: Wrapping without tension creates loops that tangle.
Crossing Lines: Allowing lines to cross over during wrapping increases inversion risks.
Improper Bar Placement: Careless placement on the beach can lead to lines wrapping over the bar.
Kiteboarding Bar Juggling: How to fix your lines.
What is Bar Juggling and Why is it Important?
Bar juggling is the technique used to untangle and correct inverted kiteboarding lines while out on the water, without needing to return to the beach.
It becomes especially useful if your lines cross or invert during a crash. You want to continue riding instead of heading back to shore to reset.
While beginners can rely on the beach to fix tangles, bar juggling allows more experienced riders to solve problems on the water, saving time and maximizing their session.

Step-by-Step Guide to Bar Juggling
1. Practice in Shallow Water and light wind
Start learning bar juggling in waist-deep water under controlled conditions. Have a friend nearby to assist in case you lose control of the kite.
2. Land the Kite Safely on it's side
Bring the kite to the edge of the wind window and land it gently. Not all kites will stay stationary on the edge, so monitor it closely.
3. Disconnect the Chicken Loop and Leash
Unhook your chicken loop and leash to free your bar for movement.Use the depower strap as a handle to maintain control of the kite while untangling lines.
4. Identify the Inverted Line
Observe which line is tangled (e.g., the red steering line) and determine the direction you’ll need to spin the bar to untangle it.Hold the front lines firmly and maintain tension to prevent the kite from powering up unexpectedly.
5. Untangle the Bar
Pass the bar through the tangled lines while keeping tension on the front lines. If you make a mistake, don’t panic. Restart the process while keeping control of the kite.
6. Check for Safety
After untangling, perform a safety check:Reconnect the leash and chicken loop. Ensure all lines are clear and tensioned properly.Once confident, resume riding.
Where to take kiteboarding lessons in Florida.
 Reserve A Lesson
The nearest kiteboarding shop and kite school that services Dunedin and Clearwater is Elite Watersports located in St Petersburg. Give us a call and we can get you up and riding in no time. We teach kitesurfing lessons at Skyway beach a short drive south of Dunedin. Our condions are also beginner friendly and perfect for learning.
Call us for more info on kiteboarding in Florida.
Elite Watersports has served the Tampa and St Petersburg area for years. They offer kiteboarding and wingsurfing lessons. They also have a retail shop equpit with all of the latest kitesurfing gear.
If you need help give us a call. .
(727)-800-2202

Author

Ryan "Rygo" Goloversic
Tags
Kiteboarding control bar

Want To learn more about kiteboarding?
Follow us to receive the latest update on our journey experience